Install (bundled static doc)
Here is historical help for installing UltraStats. Current requirements (PHP 7.4+, MySQL 8, Docker) and paths are in the root README.md and AGENTS.md. (A legacy repository-root INSTALL file without an extension is kept for packaging habits only; the maintained install text is in this Markdown file and in the handbook.)
You will need:
- Apache or IIS web server
- PHP (modern installs: PHP 7.4+; the original text mentioned PHP 5)
- MySQL or compatible database
- A game log from a Call of Duty 1 / UO / 2 / 4 / WaW server
Server log configuration
Your game server must produce a log file. For known Call of Duty versions, these settings are recommended in the server configuration:
set logfile "1"         // 0 = no log, 1 = log file enabled
set g_logsync "2"       // 0=no log, 1=buffered, 2=continuous, 3=append
set g_log "games_mp.log"  // name of the log file
For Call of Duty 4 workarounds, this line is also recommended:
set sv_log_damage "1" // enables damage logging
Upload and permissions
- Upload everything under the
ultrastats/src/tree to the web server document root (or a subdirectory). You do not need the rest of the distribution on the web host for normal operation. - If the web server can write the UltraStats tree, you can skip the shell step; otherwise, from the contrib folder, copy
configure.shandsecure.shnext to the install,chmod +xthem, and run./configure.shto create a blankconfig.phpwith world-writable permissions (or do the same manually). - Open the site in a browser. You should be prompted toward the installation wizard—follow it.
Installer steps (summary)
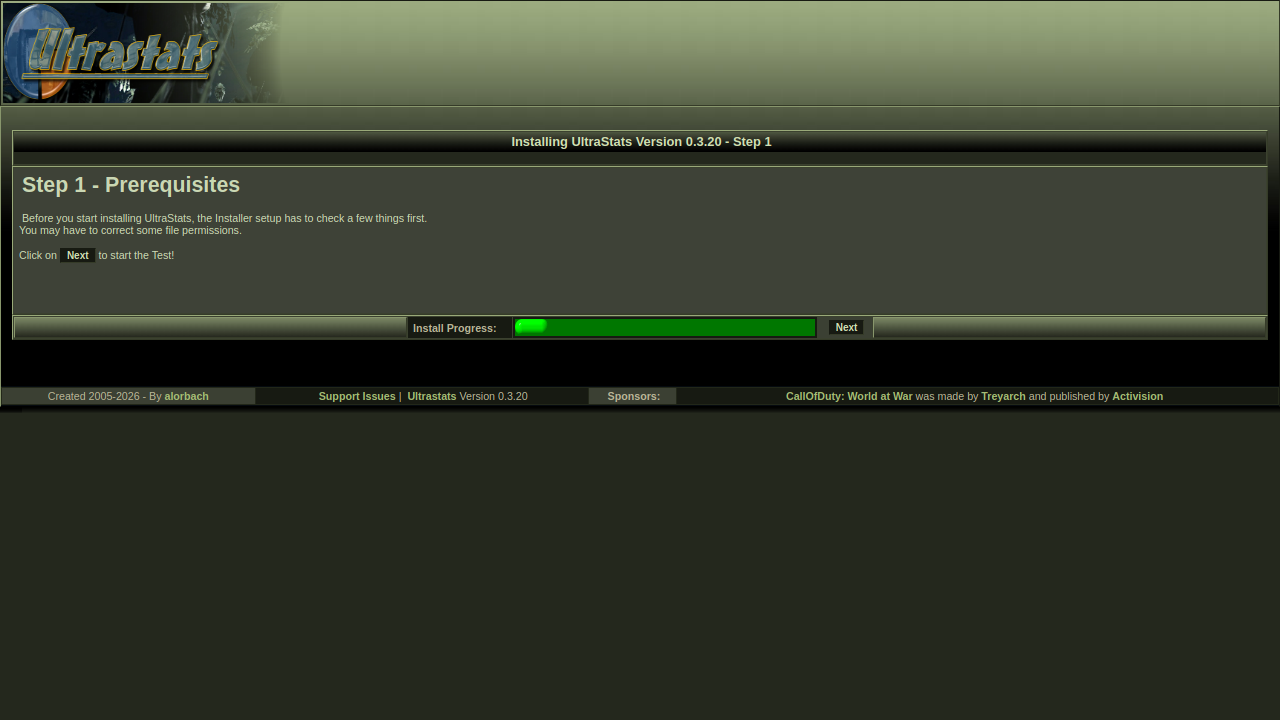
- Step 1 — Welcome — confirms prerequisites.
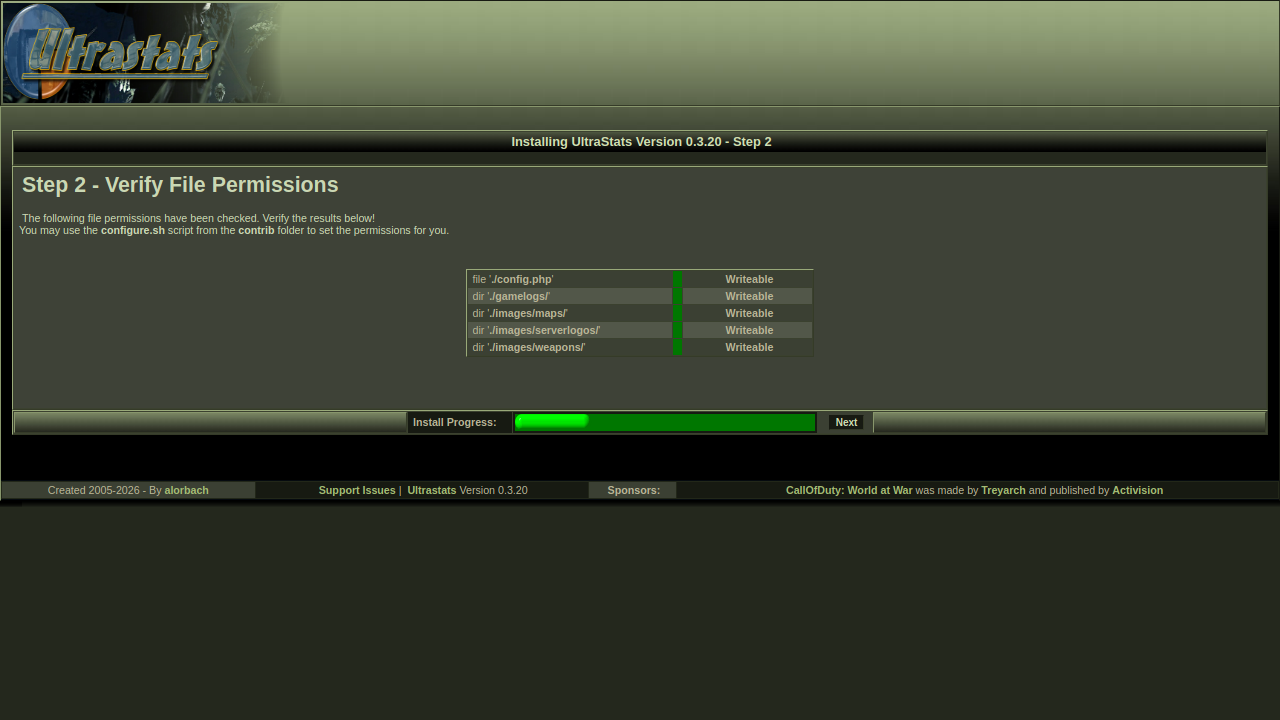
- Step 2 — File permissions — ensure
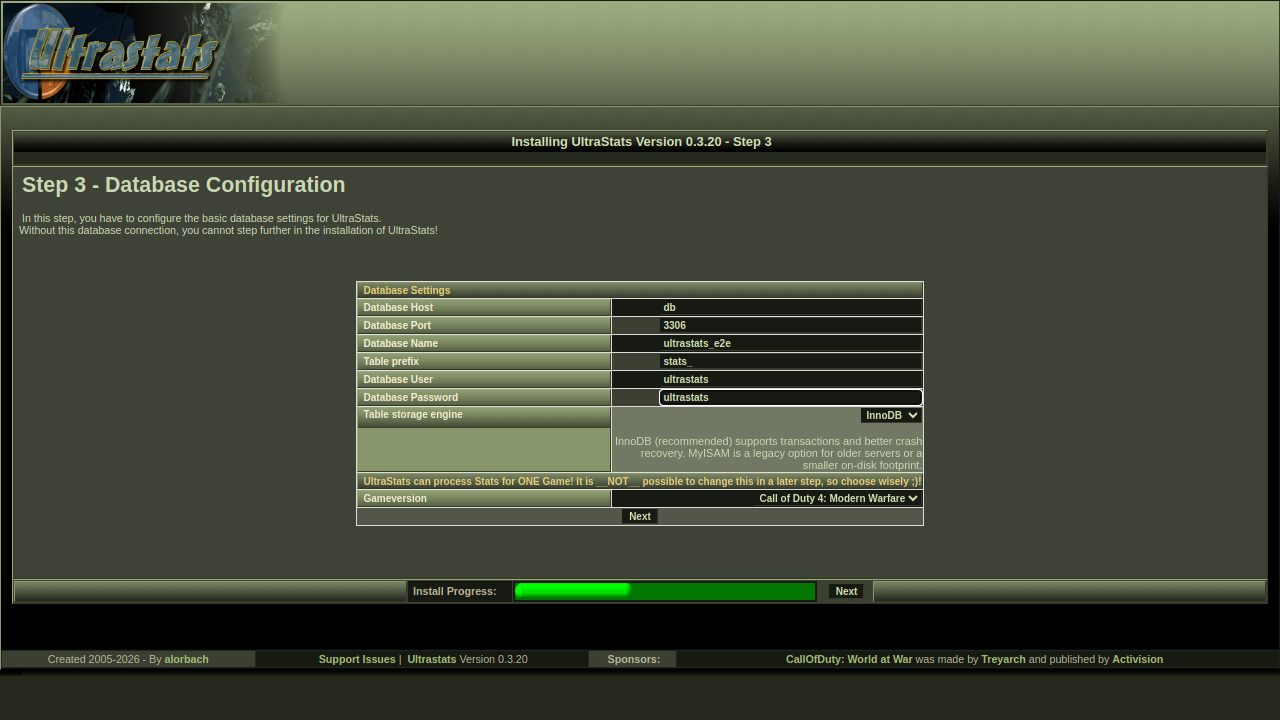
config.phpcan be written; fix permissions and re-check if needed. - Step 3 — Database — host, port, database name (create the empty database first), table prefix, user, password, and game version (one CoD version per installation).
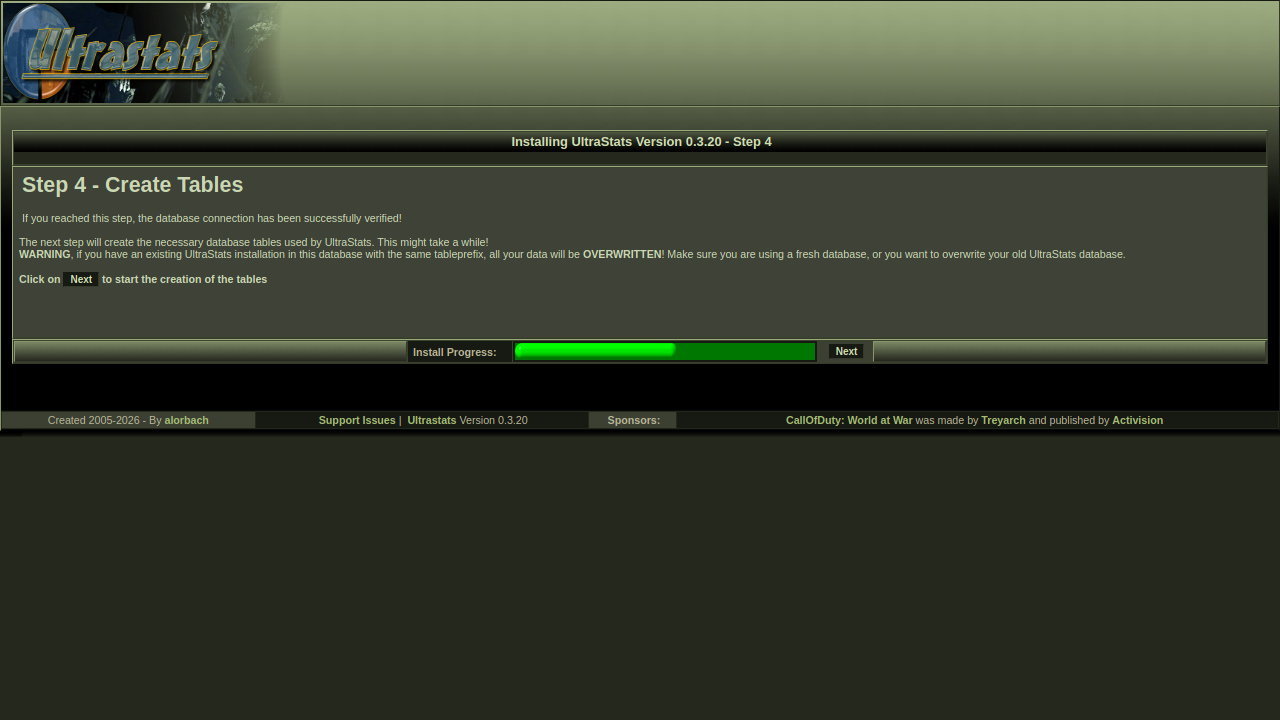
- Step 4 — Create tables — runs schema import. Warning: an existing install with the same table prefix will be overwritten.
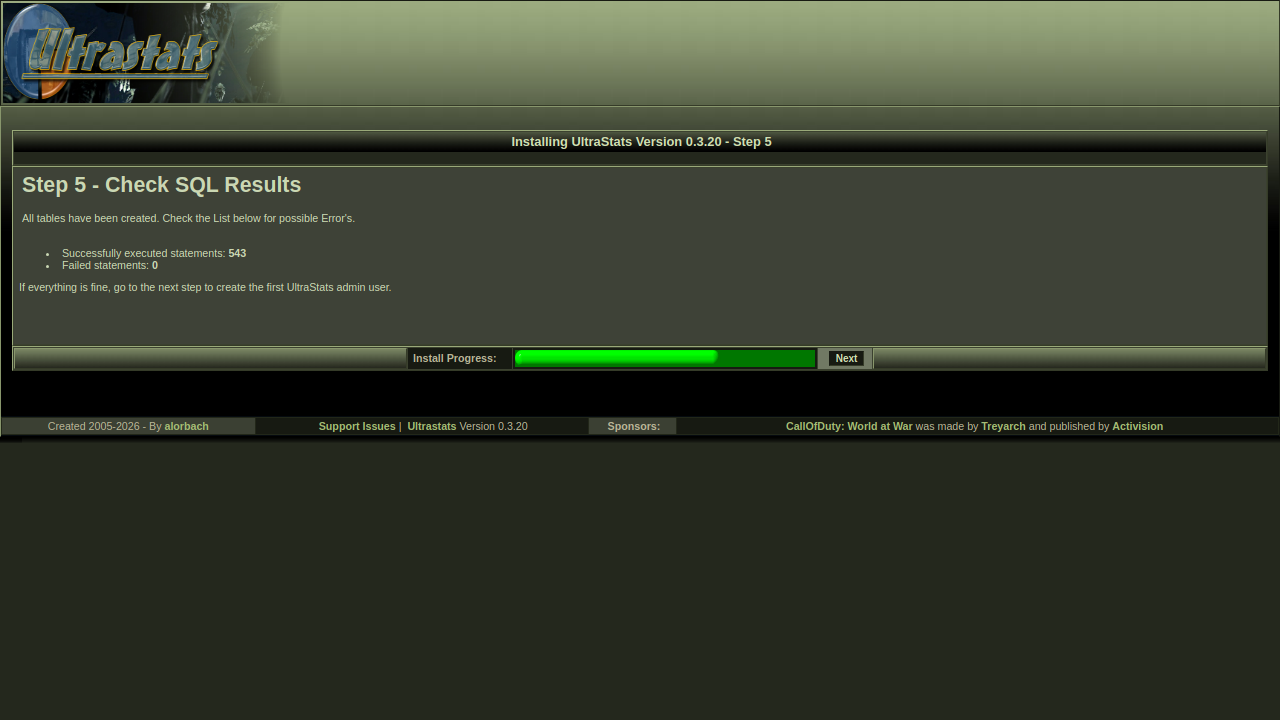
- Step 5 — SQL results — confirms statements ran.
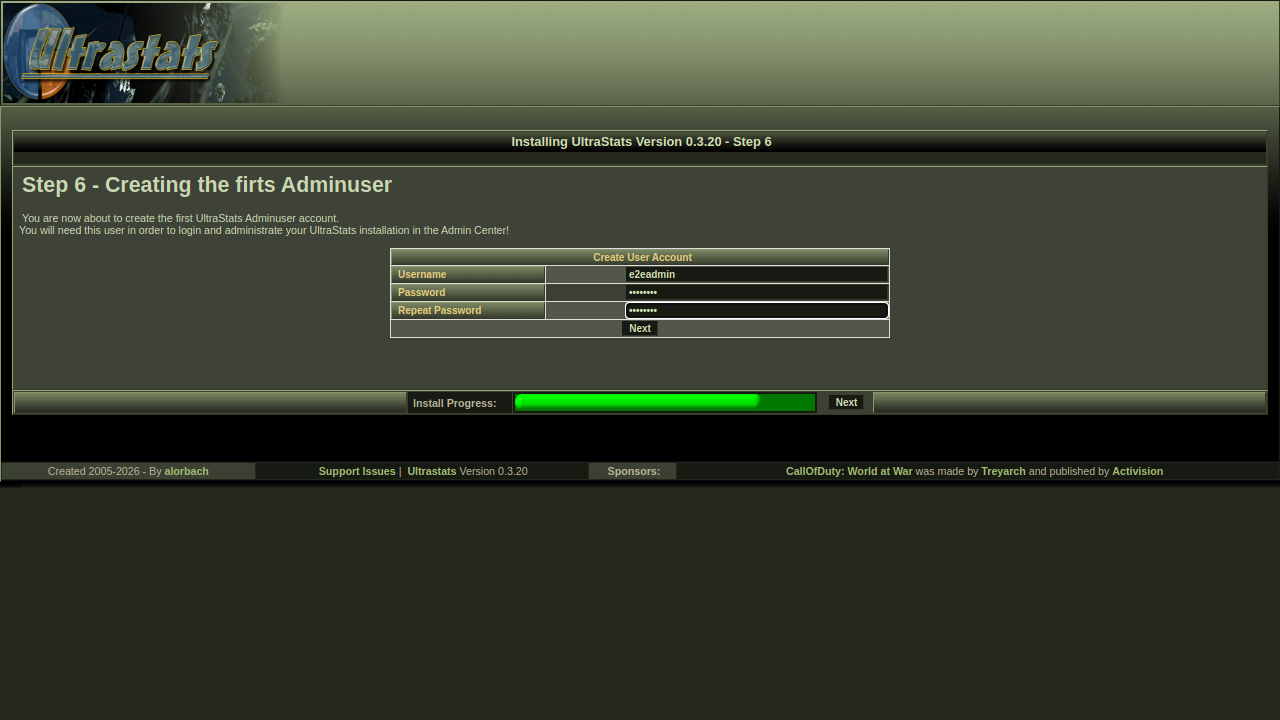
- Step 6 — First admin user — create the initial admin account.
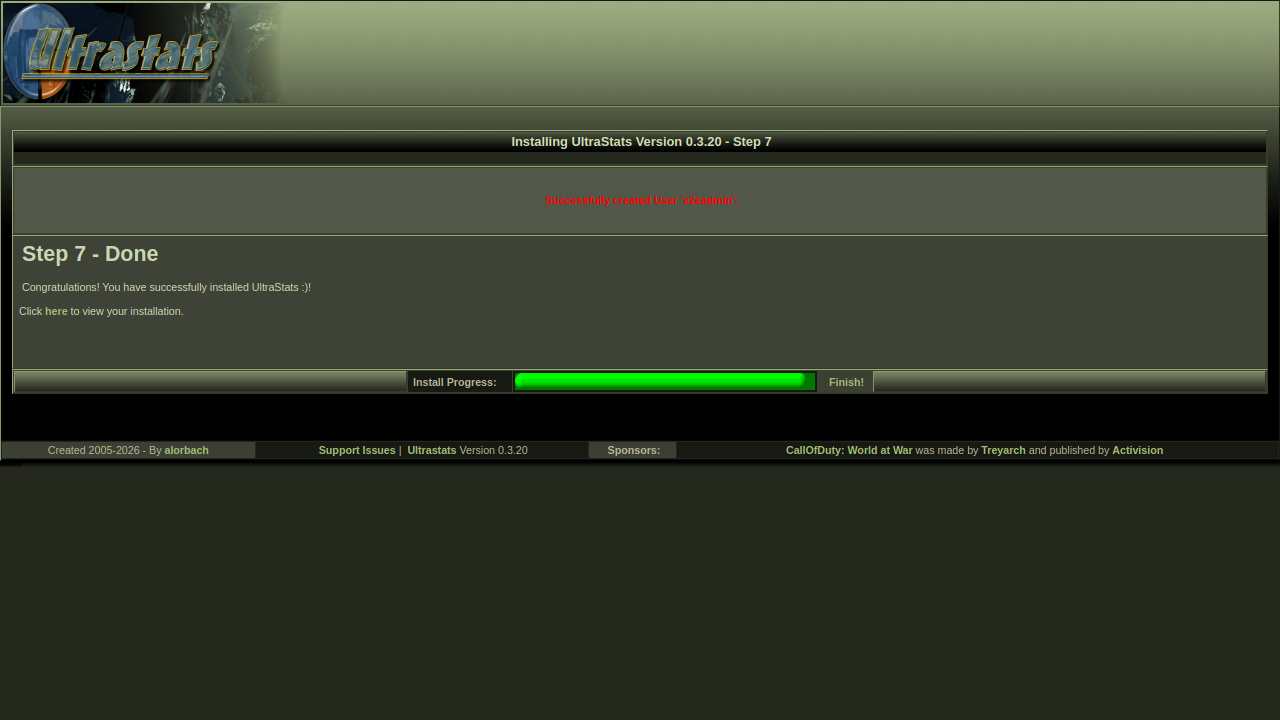
- Step 7 — Done — installation complete.
Installer walkthrough (screenshots from testbench run)
The latest local testbench capture is in:
_tmp/install-e2e-reports/install-e2e-report/index.html
Step images used below are from:
_tmp/install-e2e-reports/install-e2e-report/screenshots/step-01.pngtostep-14.png
Wizard pages (1–7)
First admin actions after install
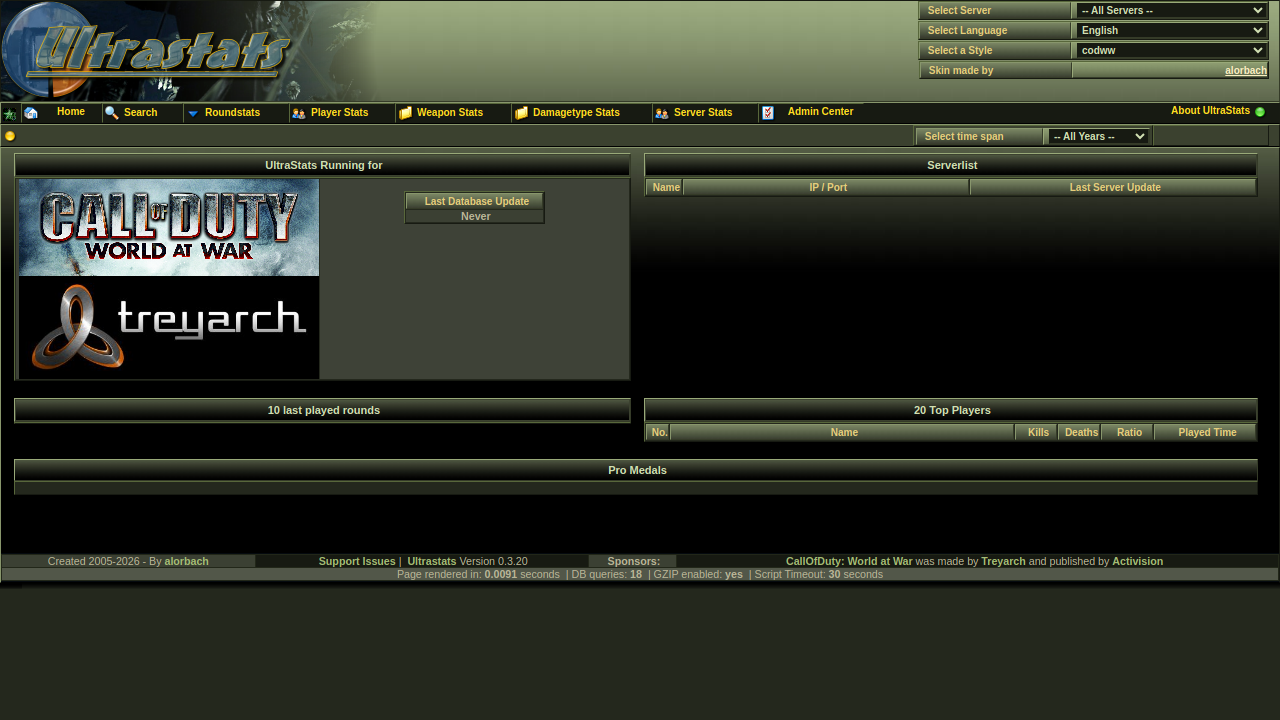
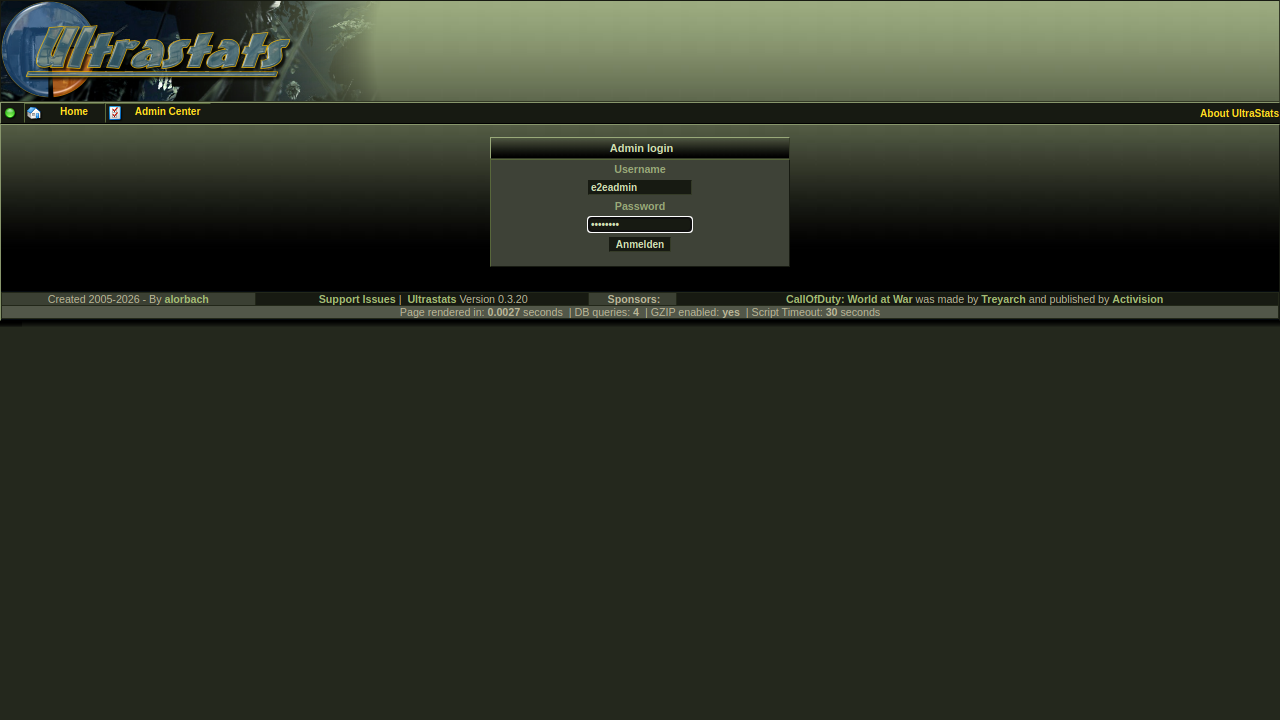

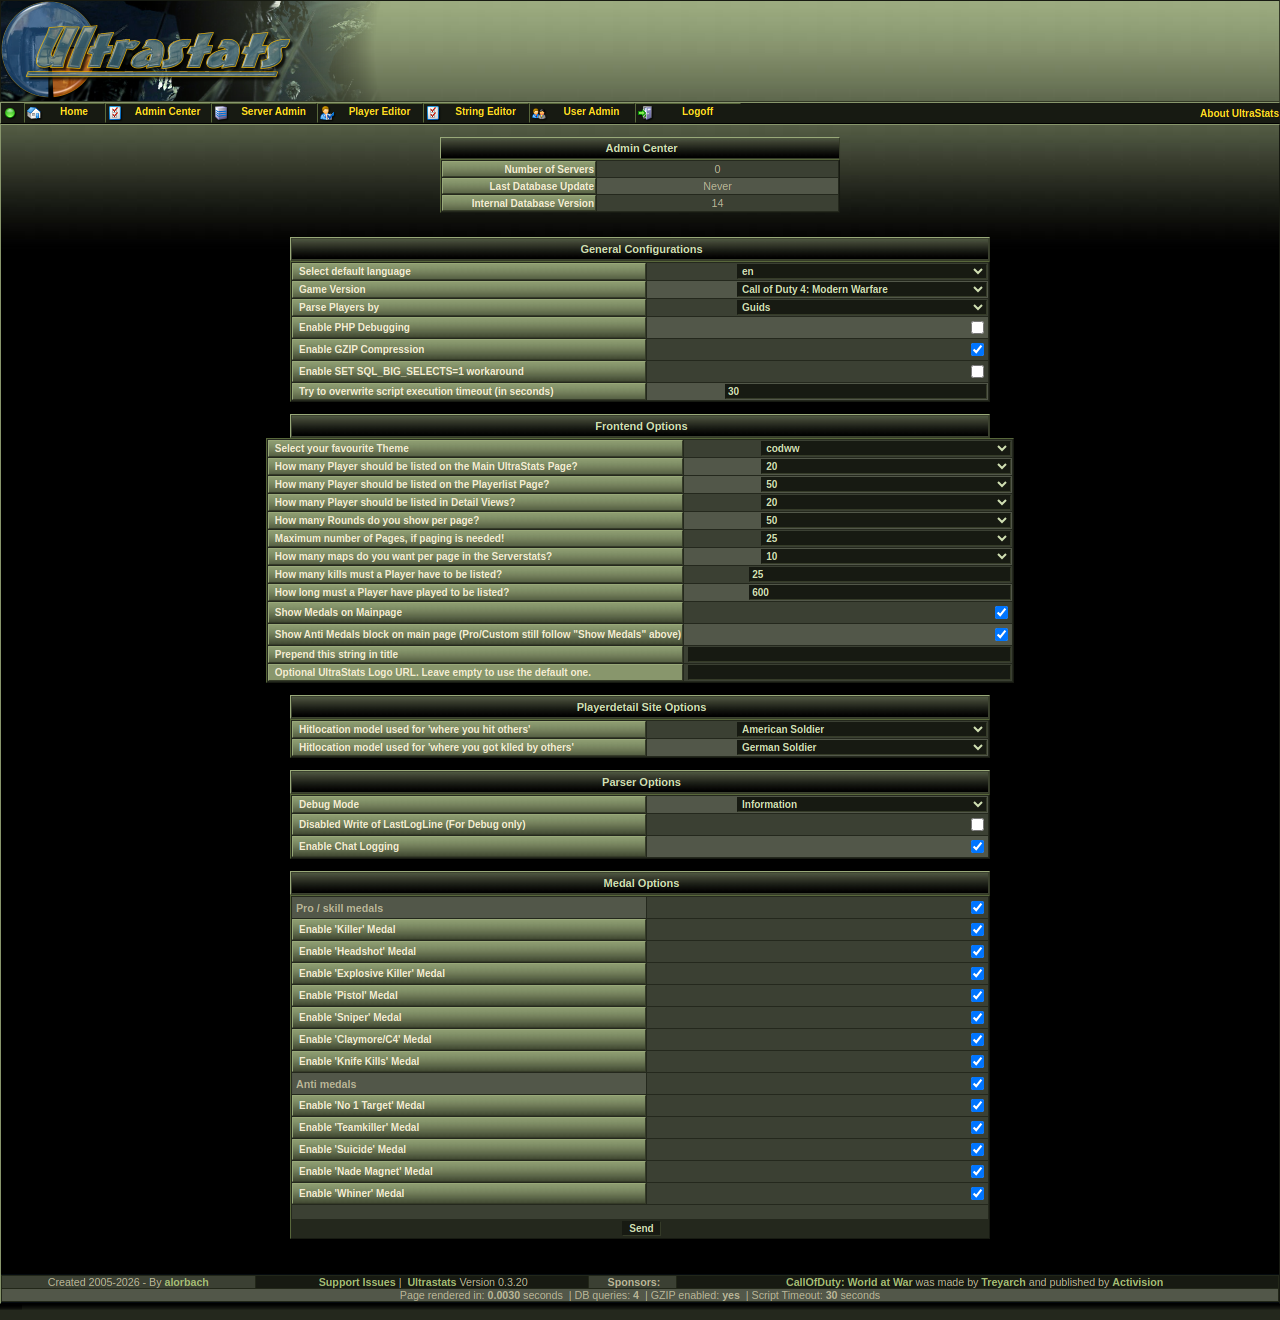
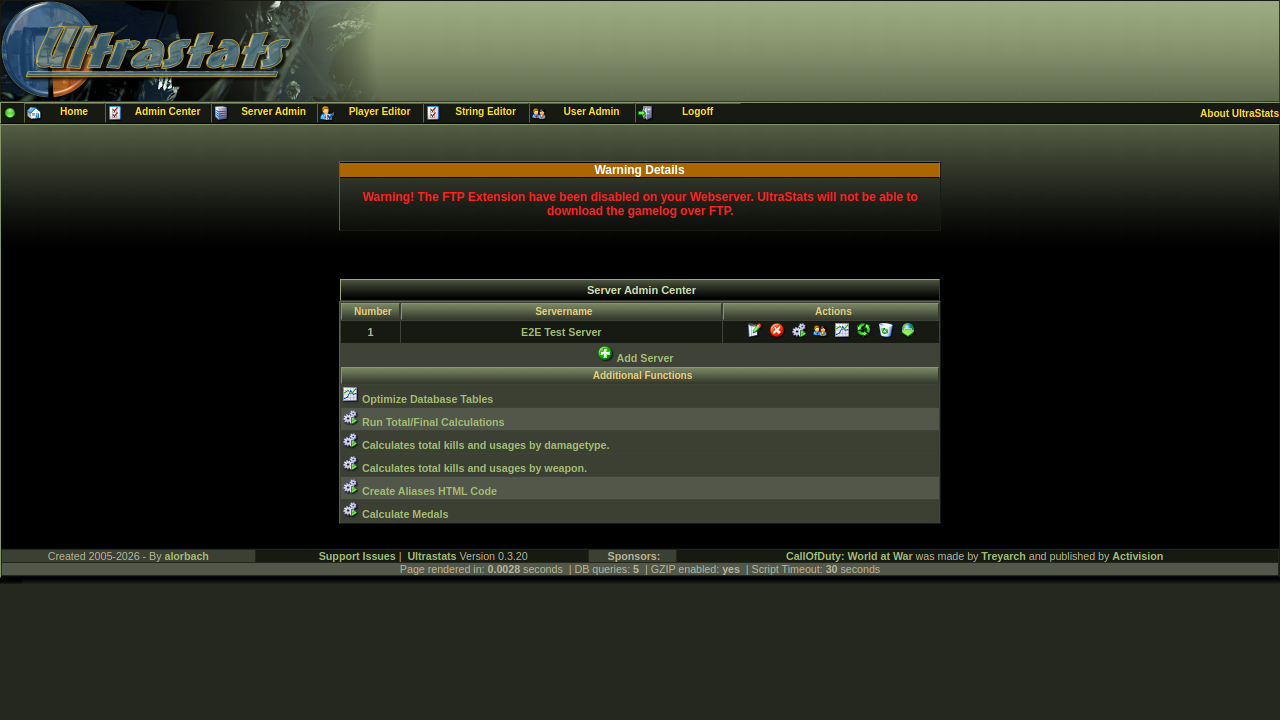 4. If successful, the front page may show “No servers installed” until you add a server. Open Admin Center, sign in, and add a server.
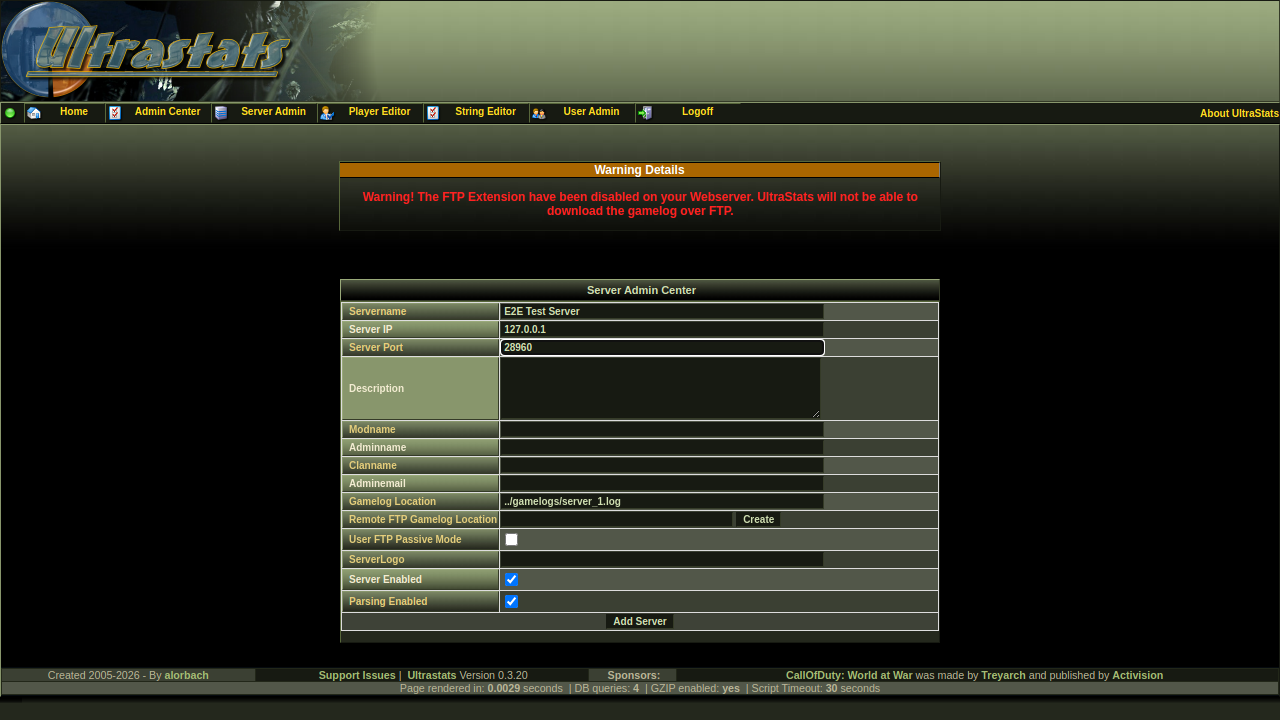
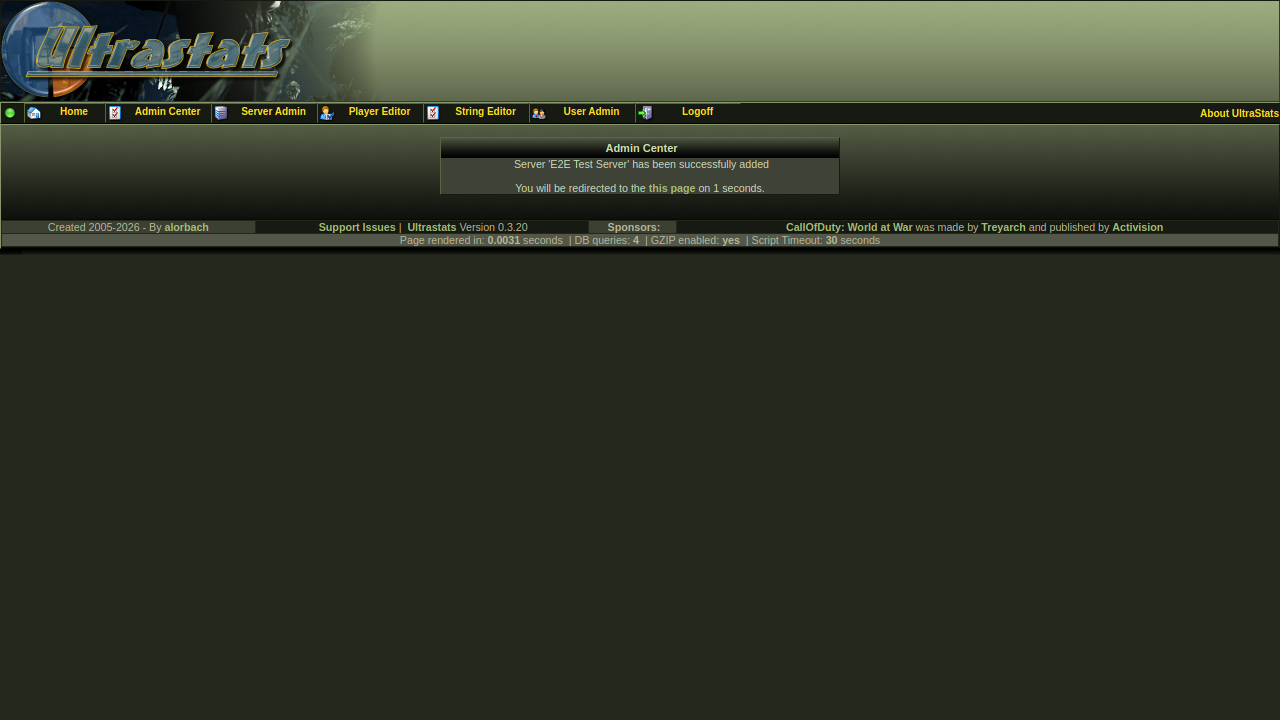
5. In Server admin, use Add server. The important field is gamelog location—a path the web server can read (e.g. default ../gamelogs/server_1.log if logs live under gamelogs next to the app). If the game server and web server are the same machine, you can set the full filesystem path.
6. If you do not need remote download, you can ignore FTP. Otherwise, open Edit on the server; use the helper for Remote FTP gamelog location, e.g. ftp://username@127.0.0.1/.callofdutyww/main/Server1_mp.log. Use the download control in the admin UI when ready; the parser appends to existing log files.
7. Run the parser from the server row (or CLI scripts in contrib if the web request times out on large logs).
8. Run total / final calculations (medals, aliases, etc.) as documented for your version.
9. You should then see stats on the site.
Problems
If something breaks, use your project issue tracker; old public forums may no longer exist.